How to Inflate and Deflate Your Rapid Deployment Tent
Wednesday February 7, 2024
Inflating and Deflating Your Rapid Deployment Tent
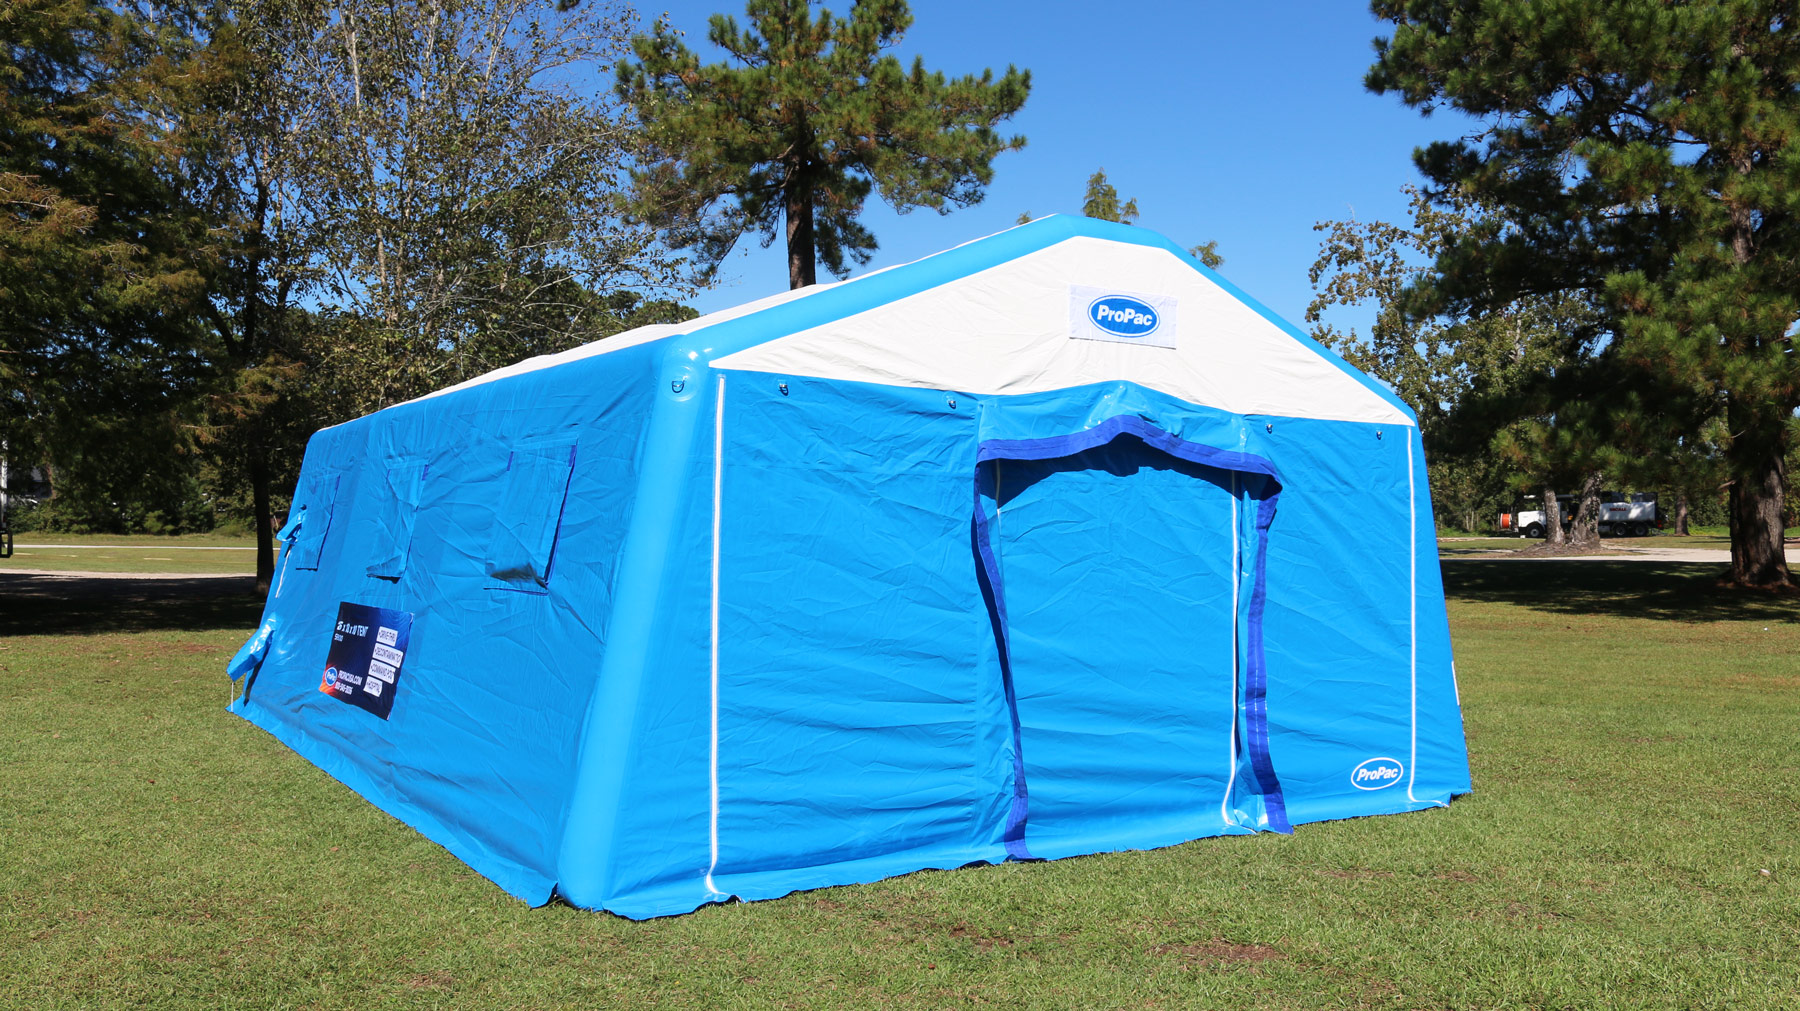
Welcome to your crash course in inflating and deflating an inflatable emergency shelter. Whether this shelter is used as a mobile hospital, command post, point of distribution, or drive-thru, knowing the ins and outs of your shelter is key.
Check out our YouTube channel for a visual demonstration of how to inflate and deflate your emergency tent.
How to Inflate
1. Location: First things first, find a spacious spot free from sharp objects and rocky terrain. Although it is very difficult to puncture these inflatable tents, ensuring the surrounding area is as flat and debris-free as possible is important.
2. Spread the Tent Out: Lay your deflated shelter flat on the ground and smooth out any wrinkles to ensure an easy inflation process.
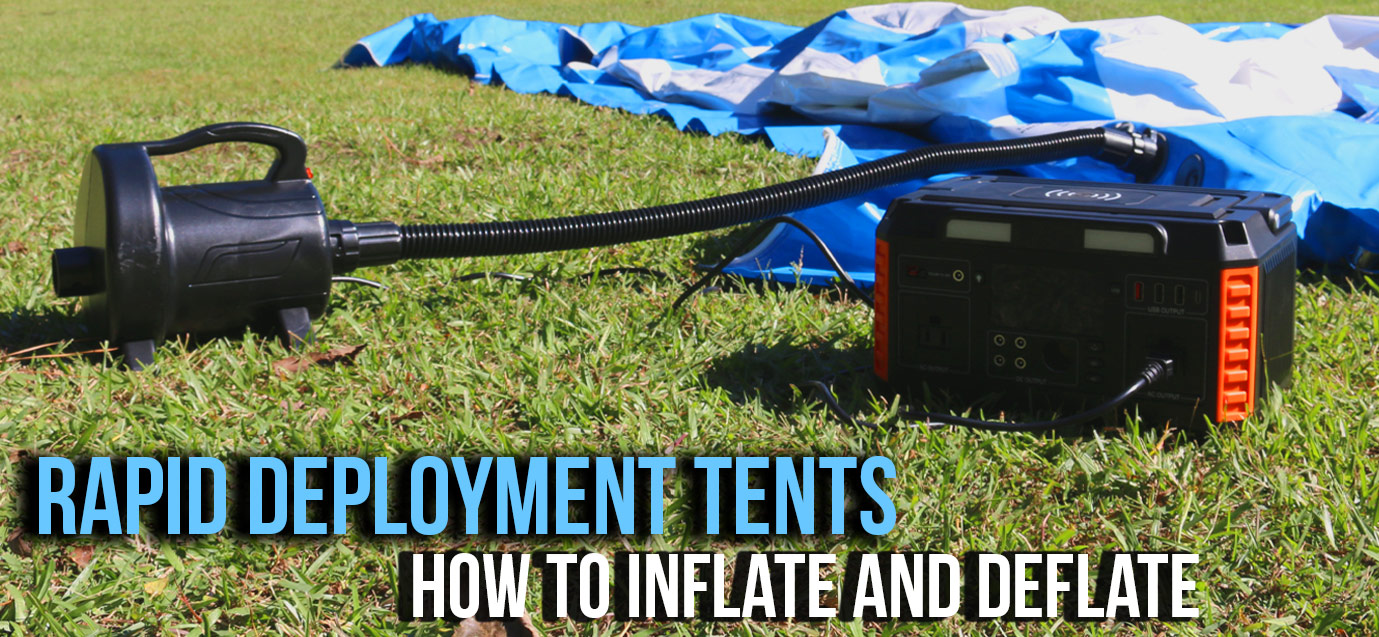
3. Air Inflation: Grab your air inflation pump and attach it securely to the shelter's valve. Most of our tents take around 3-8 minutes to fully inflate, depending on the type.
4. Check Your Corners: As your tent takes shape, make sure all corners and seams are properly inflated. Give them a gentle squeeze to ensure they're firm and that the tent is ready for use.
5. Secure the Perimeter: Once fully inflated, stake down the corners and utilize the included straps to keep your shelter grounded.
How to Deflate
1. Final Checks: Ensure the auto inflator is disconnected. Unzip all interior and exterior door and wall zippers.
2. Release the Pressure: When it's time to take the tent down, start by releasing the air pressure. Twist the covers off to open the valve, then push, and twist. This allows air to leave from the banks.
3. Rid of Remaining Air: Place the air inflator hose on the suction side of the pump, attaching it to the deflation valve. This will vacuum the rest of the air out of the tent. Once all air is out of the tubes, turn off the pump and close the valves.
2. Fold and Roll: With the air out, it's time to fold and roll. Start from one end and fold your shelter inwards, keeping it nice and tidy as you go. Once folded, roll it up as tightly as possible.
3. Pack It Up: Once rolled, secure your shelter with straps or ties to keep it compact and portable.
4. Store with Care: Finally, store your deflated shelter in a dry, cool place away from direct sunlight. Keeping it as tidy and clean as possible during storage will only expand its shelf-life.