Top Seven Trailer Graphic Installation Tips
Thursday May 13, 2021
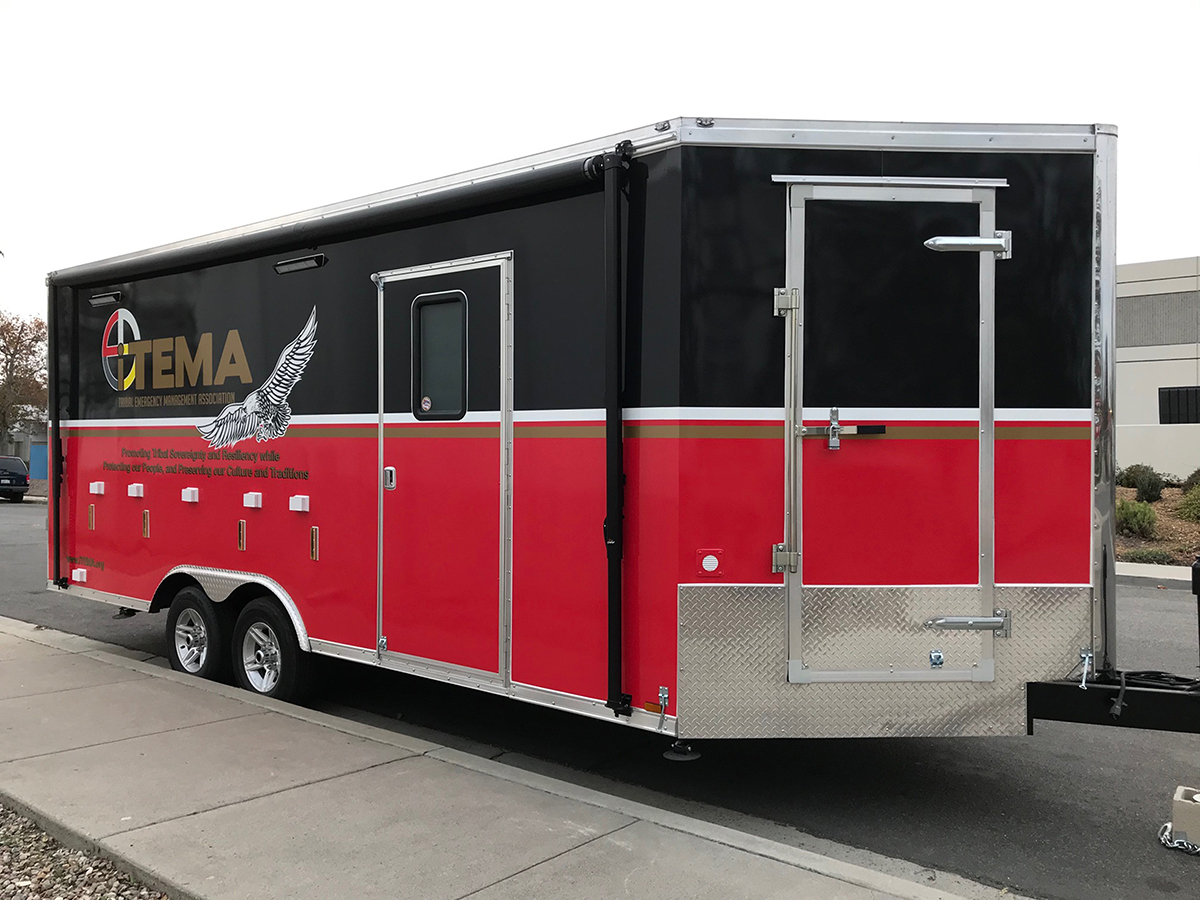
Propac has built hundreds of emergency response trailers that are serving across the world. From fully outfitted mobile command centers to a recent surge of immunization trailers, we understand the mission set and work with government agencies to maximize their response capability.
While overlooked on some occasions, the graphics package is often the most visible and forward facing aspect of an agency’s response. The mere presence of a trailer complete with emblem and logo is a welcome sight to those in need and furthers the public’s confidence in an expedient recovery. It’s also not the easiest task to complete while outfitting a trailer!
When making the decision as to how best to complete the graphics package, here are 7 essential tips for making your installation successful.
1.) Hire A Pro
It probably goes without saying, but this is not a simple DIY project. The layout and application process is not something that you can learn on the fly and if it’s your first application, you can expect a longer than expected learning curve.
2.) Get A Good Mock-Up
Layout the initial design and color scheme of the logo’s and type. Is there enough contrast to see the logo? Are the letters big enough to read from a distance? What type of font works best? Do I need to apply logos on all three sides? The mock up will be able to answer those questions for you.
3.) Clean Thoroughly
Preparation is the key to success. If the surface is dirty, the material may not adhere well and will only lead to problems down the road. Make sure the surface is streak free and clean of oil, residue, or grime.
4.) Use Quality Graphic Material
Not all vinyl material is equal and there’s certainly a difference between the cheap stuff and the professional grade. Thickness, elasticity, gauge, air drain channels, backing tape, gloss, pressure sensitive adhesive…..they all play a part in the final look and longevity of the logo.
5.) Measure Twice Cut Once
Leveling the trailer before applying the graphics helps but make sure the measurements are taken from equal lines on the trailer. Get a level if necessary to ensure all type face is straight and lined up correctly.
6.) Apply Smoothly and Slowly
Do not rush the application! Use a wetting material to allow the graphics to slide while slowing using squeegee pressure to place the material down onto the surface. There are also several types of rubbing compounds and squeegees to aid in the process.
7.) Remove Air Bubbles and Cut Seams
In an ideal world air bubbles would not be present in the final application. If they do show up, use a small knife to pierce the hole and remove the air pocket. If close to a seam, you may be able to slide the air out from underneath.
When you’re all done, step back and take a look at the job you’ve just completed. One side down and two to go!
Delivery
We build upon our experiences to make each and every emergency trailer better. We partner with you to determine how to best suit your missions' needs. Upon completion, we will deliver a custom trailer that is not only functional, but a representation of your organization that you can be proud of.
Large Selection
ProPac has a tremendous selection of preparedness and emergency trailer packages. Prepare now and be ready before the unexpected happens in your community and...
Know Us Before You Need Us!
Learn More About ProPac Trailers Here